Snap, Sizzle, Savor: How to Make Your Food Photos Pop
Transform your food photos with tips to snap, sizzle, and savor. Discover secrets for mouthwatering images that tempt every taste bud!
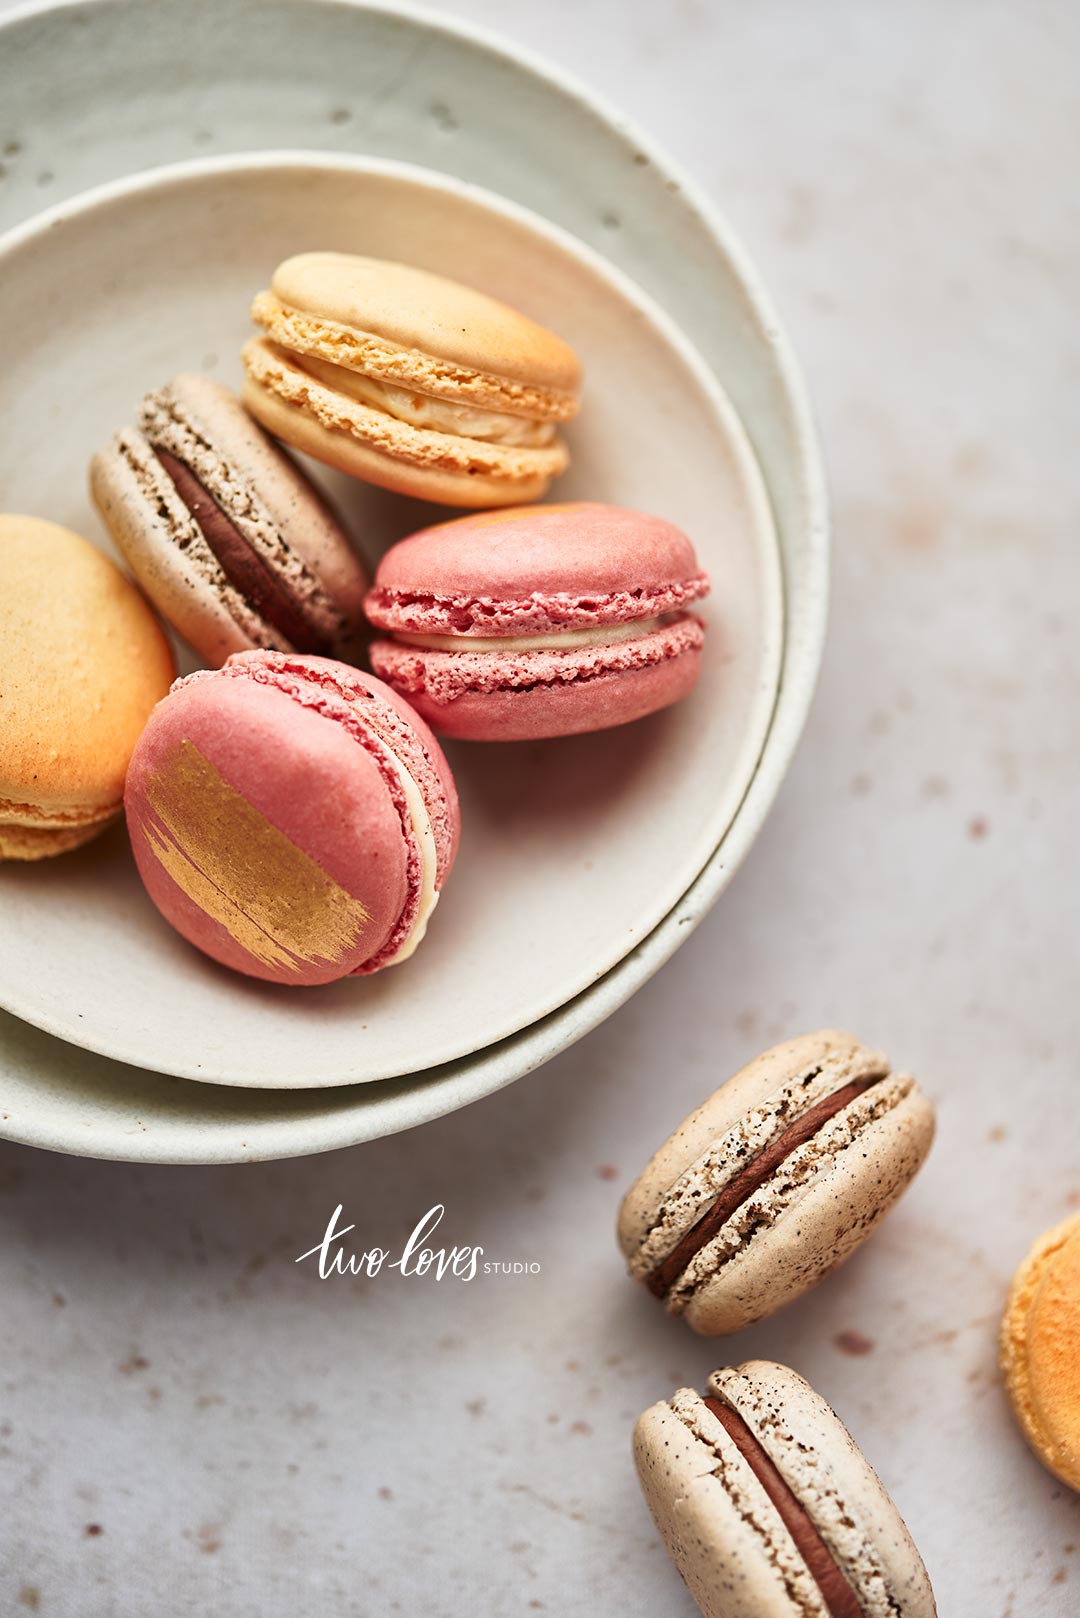
5 Tips for Perfect Food Lighting: Snap, Sizzle, Savor
When it comes to food photography, getting the lighting right is essential for making your dishes look their best. Here are 5 tips for perfect food lighting that will help you snap, sizzle, and savor every delicious detail:
- Natural Light is Your Best Friend: Whenever possible, use natural light by positioning your food near a window. Early morning or late afternoon light provides the most flattering tones, helping to enhance the colors and textures of your culinary creations.
- Avoid Direct Sunlight: While natural light is ideal, direct sunlight can cause harsh shadows and unappealing highlights. Diffuse the sunlight using sheer curtains or a light-colored reflector to create a soft, even illumination.
To really make your food pop, consider the following additional tips.
- Experiment with Angles: Different angles can dramatically change the mood of your food photography. Shoot from above for flat lays or at a 45-degree angle to create depth and dimension.
- Use Props Wisely: Props can enhance your food's appeal, but be careful not to override the main star. Distractions can detract from the overall aesthetic, so choose items that complement your dish.
- Edit for the Perfect Finish: Post-processing your images can help you adjust lighting and colors. Use photo editing software to enhance brightness and contrast, ensuring your final shot reflects the vibrant flavors of your food.
The Art of Plating: How to Make Your Dishes Instagram-Ready
In the world of culinary arts, presentation is as important as flavor, especially when it comes to sharing your creations on social media. The art of plating elevates your dishes, making them not only appetizing but also visually stunning. To achieve an Instagram-ready dish, consider the layout and structure. Use contrasting colors to make your elements pop, and don’t be afraid to use unique plates or bowls that enhance your food's appeal. Remember, negative space is your friend; providing some empty space on the plate allows the eye to focus on the food itself.
Another key aspect of the art of plating is creating height and dimension. Stacking ingredients or using molds can add an impressive vertical element to your dish. For garnishes, opt for fresh herbs, edible flowers, or colorful sauces that add flavor and flair. When it comes to finishing touches, a drizzle of balsamic reduction or a sprinkle of sea salt can make all the difference. Lastly, don’t forget the importance of lighting; natural light can make vibrant colors and textures shine, ensuring your dish looks as good on screen as it does in person.
What Camera Settings Should You Use for Stunning Food Photos?
When it comes to capturing stunning food photos, the right camera settings play a crucial role in achieving the desired results. Start by setting your camera to Aperture Priority mode if you're using a DSLR or mirrorless camera. This mode allows you to control the aperture, which is essential for blurring the background and making your dish stand out. Aim for a wider aperture (lower f-stop number, like f/2.8 or f/4) to create a beautiful depth of field that adds a professional touch to your images.
Next, ensure that your ISO settings are optimized for the lighting conditions. In well-lit environments, keep the ISO low (around 100-200) to minimize noise and capture crisp details. If you're shooting in lower light, consider raising the ISO but stay within a range that keeps noise in check. Finally, adjust the white balance to ensure that the colors of the food are accurately represented; use the auto setting or adjust manually if needed for different lighting conditions. With these camera settings in mind, you'll be well on your way to creating stunning food photos that entice and inspire.